

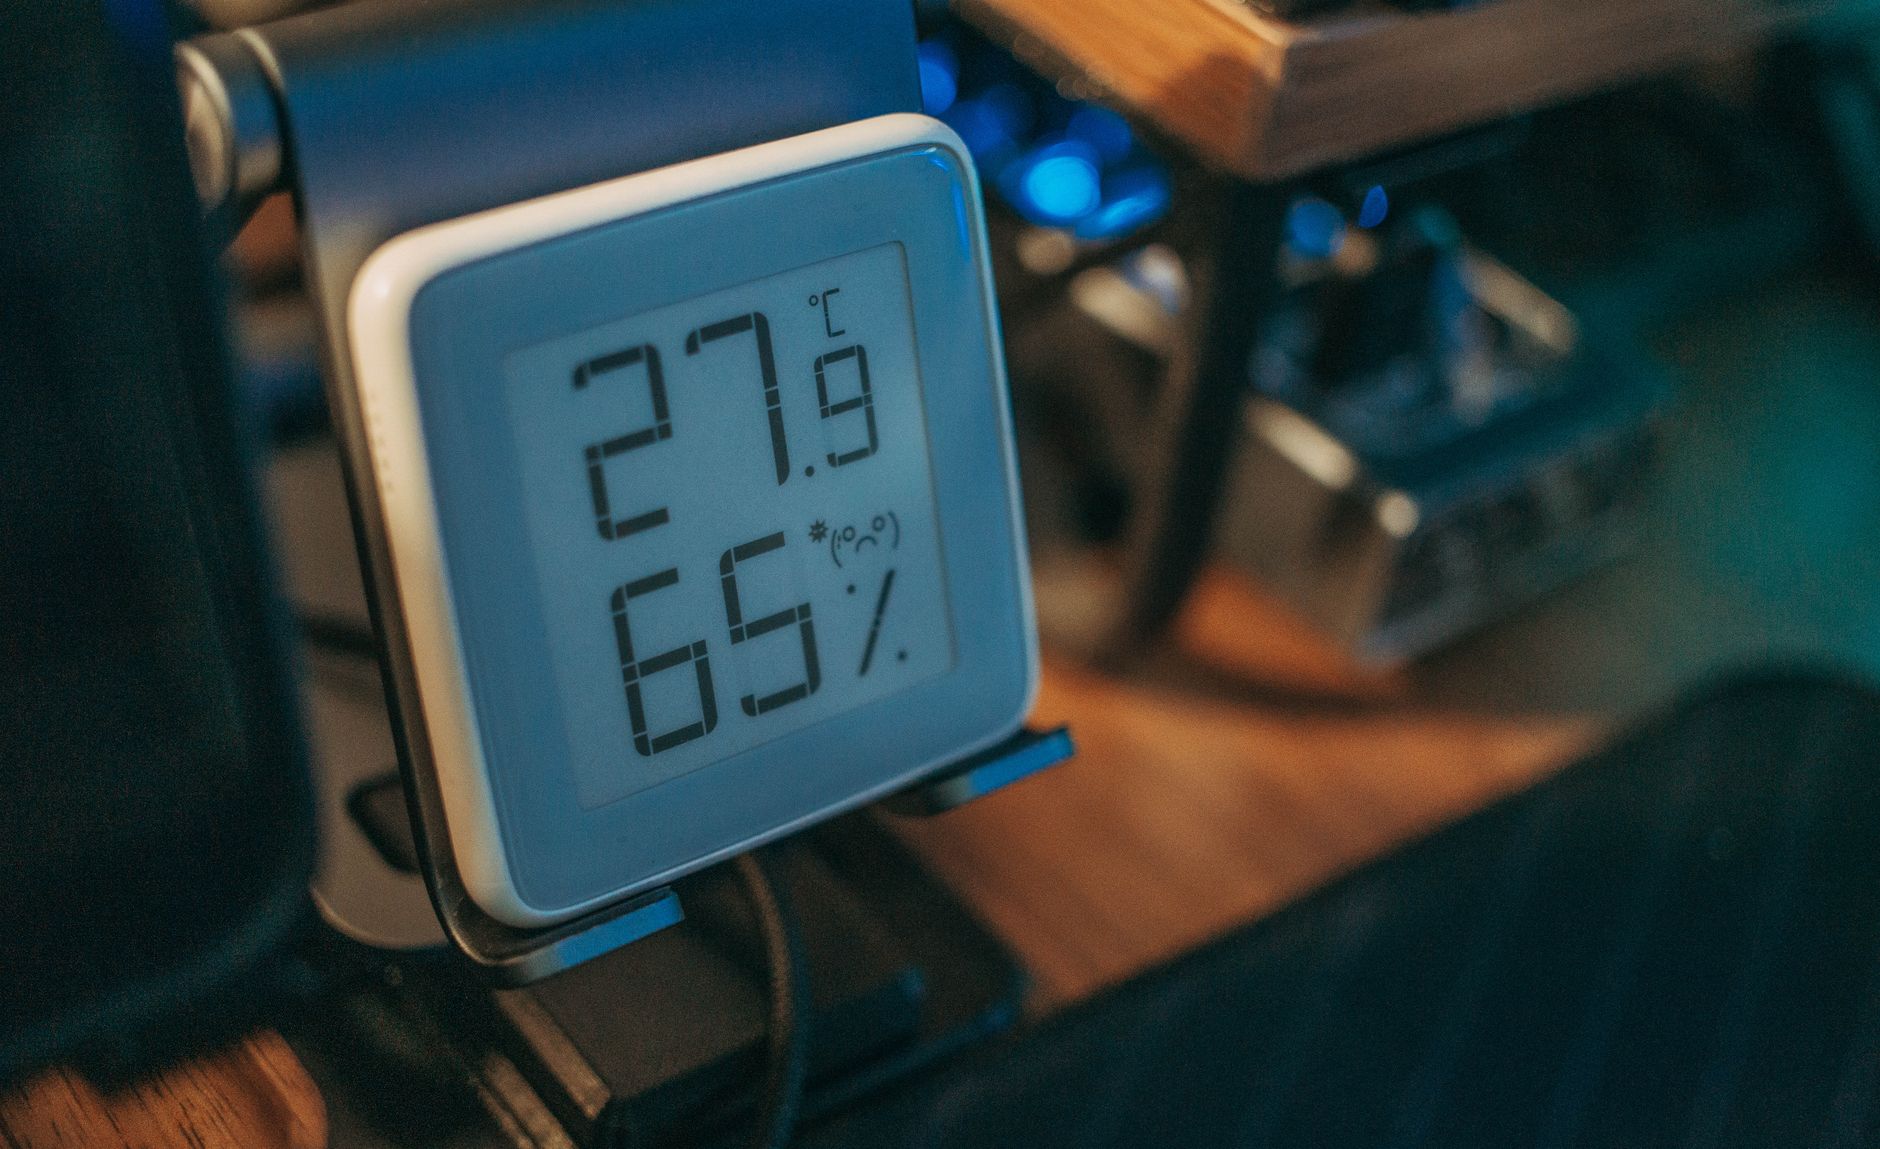

Place a calibrated digital hygrometer in the room you actually use, away from sunlight, vents, and moisture sources like showers or stovetops, for the most reliable reading of indoor humidity. Let it sit for at least 24 hours, then check the reading against the 30–50% range the EPA recommends for homes. A $15 thermo-hygrometer on a bedroom nightstand or living-room shelf beats a smart sensor stuffed in a hallway, because location and calibration decide whether the number on the screen is one you can trust.
Below, the sections walk through the numbers worth tracking, the tools that produce them, where to put them, and how to turn each reading into a clear next step for your home.
Relative Humidity and the Numbers Worth Tracking
Relative humidity is the percentage of moisture currently in the air compared to the maximum the air can hold at that exact temperature. Warmer air holds more water, so a 50% reading on a cool morning can climb to 65% by afternoon as the room warms up, even though no new moisture entered the space.
Comfort Bands From ASHRAE and the EPA
ASHRAE Standard 55 calls for keeping indoor RH between 30% and 60% for general comfort. The EPA narrows that window to 30–50% because levels above 50% in cool corners can condense on windows and feed mold growth. Most homes sit comfortably in the middle of those two ranges, around 40–45%.
Dew Point as a Steadier Comfort Signal
Dew point strips out the temperature-driven swings that make relative humidity feel jittery. A dew point between 40°F and 60°F generally feels fine indoors; below 30°F the air starts to feel dry, and above 60°F it feels sticky. Tracking dew point alongside RH gives you a clearer picture of whether a room actually feels uncomfortable or the percentage just moved because the thermostat kicked on.
Why One Room Rarely Tells the Whole Story
A bathroom after a shower can hit 90% RH and drop back to 45% within 20 minutes. A basement can sit at 65% year-round because cool walls condense moisture out of warmer indoor air. Across seasons, attic readings can swing 30 points between July and January. That is why a single sensor in a hallway never tells you what is happening in the nursery, the crawl space, or the room with the home gym.
Knowing where readings mislead you leads directly to choosing a sensor type that can actually capture them.
Hygrometer Types and the Trade-Offs Between Them
Four tool families cover nearly every home measurement need, and each one makes a different bet on accuracy, cost, and convenience. Picking the right one is the first real decision that shapes every reading that follows.
| Tool Type | How It Works | Typical Accuracy | Best For |
|---|---|---|---|
| Digital hygrometer (capacitive or resistive) | Sensor changes capacitance or resistance with moisture | ±2–5% RH after calibration | Daily use in living areas, bedrooms, basements |
| Analog dial hygrometer | Coiled organic material expands or contracts with humidity | ±5–10% RH out of the box | Decorative or budget reference, not precise monitoring |
| Psychrometer (wet and dry bulb) | Compares two thermometers, one wrapped in a wet wick | ±1–2% RH with proper technique | Verifying a digital sensor or lab-grade checks |
| Smart humidity sensor (Govee, ThermoPro, AcuRite) | Digital sensor with Wi-Fi, app logging, alerts | ±2–4% RH when paired with a good base sensor | Whole-home trend tracking, HVAC integration, remote alerts |
Digital Hygrometers and the Sensors Inside Them
Most modern digital hygrometers use either a capacitive polymer that absorbs water and changes its electrical charge, or a resistive element whose resistance shifts with moisture. Common chips include the DHT22 and SHT31, both of which pair an RH sensor with a temperature sensor in one small package. Capacitive designs tend to hold calibration longer and handle condensation better than resistive ones, which is why most $15 thermo-hygrometers specify capacitive sensing.
Analog Dials, Phone Apps, and the Limits of Each
Analog dial hygrometers look like old barometers and cost under $10, but they often drift 10% or more within a year and rarely survive a bathroom steam event. Phone apps almost always infer humidity from barometric pressure and your location’s weather data, so they reflect the outdoor air, not the room you are standing in. Treat both as rough guides, not as measurement instruments you would act on.
Buy one good $15 digital thermo-hygrometer before you spend $80 on a smart sensor network. A single calibrated unit in the right spot produces more useful data than five wireless nodes placed randomly.
Matching the Tool to the Home You Actually Live In
The right hygrometer depends less on specs and more on the size of your space, the number of climate zones, and whether you want to glance at a screen or study a graph. A $15 device and a $150 hub can both be the correct answer, just for very different routines.
Single-Room Renters and Bedrooms
A $10–$25 digital thermo-hygrometer on a dresser or shelf covers most needs. Look for a model with a fresh battery, a clear display, and a stated accuracy of ±3% RH or better. Brands like ThermoPro and AcuRite sell reliable units in this range that rarely need calibration more than once a year.
Whole-House Families and Multi-Zone Homes
Two or three digital units, one per climate zone, give you a fuller picture than one expensive hub. Place one on each floor, plus a dedicated unit in the basement or crawl space if you have one. Smart sensor networks from Govee or Honeywell earn their cost once you actually want trend graphs and HVAC tie-ins; otherwise, three standalone $15 devices outperform a single $120 smart hub for raw accuracy.
Workshops, Wine Cellars, and Instrument Storage
When the cost of being wrong is high, like a $400 bottle of wine or a $1,500 guitar, calibrate before you trust any reading. A sling psychrometer offers a one-time verification check, and a calibrated digital unit with a logged baseline gives you the ongoing data. A saturated salt solution test kit, available from calibration suppliers, is the gold standard for home verification because the salt-air equilibrium sits at a known 75.3% RH.
Phone Apps and Built-In Weather Stations
Regional stations miles away supply the data that built-in phone barometers and weather apps display on your screen. They can confirm that outdoor humidity is high on a rainy day, but they cannot tell you whether your basement is at 42% or 62%. Use them for context, not measurement.
That gap between outdoor guesses and indoor reality makes placement the make-or-break step.
Placement, Acclimation, and the Salt-Test Calibration Method
A good hygrometer in a bad spot produces confidently wrong numbers. Placement and patience decide whether your reading reflects the room or the wall it leans against, and a kitchen-table salt test confirms the sensor itself is honest.
Where to Put a Sensor in Each Room
Keep the unit away from direct sunlight, exterior walls, supply vents, and windows, all of which skew the local microclimate. Bathrooms, kitchens, and laundry rooms spike during use, so readings taken in those rooms rarely represent the rest of the house. Aim for 3–5 feet off the floor, in the part of the room where you actually sit or sleep, and at least a few feet from any heat source.
Letting a New Device Acclimate
A fresh sensor needs time to adjust to its surroundings. Move a hygrometer from a cold delivery truck into a 70°F living room and the first reading can be off by 5–10 points. Give the unit at least 24 hours in its target spot before you trust any number, and closer to 48 hours if it has been stored in extreme heat or cold, since the polymer element needs time to equilibrate with the room’s water vapor.
Calibrating With a Salt Test at Home
A simple kitchen-table test can verify any digital hygrometer. Mix a few tablespoons of table salt with just enough water to form a thick paste, put it in a small container, and place the container and your hygrometer inside a sealed plastic bag or airtight container. After 6 hours at room temperature, the sealed environment should read about 75% RH. If your sensor shows 73–77%, it is well-calibrated. Outside that range, adjust the unit if it has a calibration screw, or note the offset for future readings.
A trustworthy number is only useful once you know what threshold should trigger action.
Do not calibrate a hygrometer in a bathroom or kitchen. Steam and cooking moisture contaminate the salt-test chamber and produce a misleading baseline.
Reading the Number and Knowing When to Act
A reading only matters if you know what to do with it. Match the number to a clear response so you are not staring at a screen wondering whether to worry about a 5-point swing or a 20-point one.
Below 30%, Too Dry
Dry winter air can drop below 25% RH, especially when a furnace runs for hours. Static shocks, cracked lips, itchy skin, and sinus irritation are early signs. Add moisture with a cool-mist humidifier, set the unit to 40%, and the room usually feels better within a day as wood furniture and drywall reabsorb the lost moisture.
30% to 50%, The Sweet Spot
This range balances comfort, respiratory health, and mold prevention. Most people breathe easiest around 40–45%, and wood floors, furniture, and instruments stay dimensionally stable. If your numbers consistently fall in this window, no action is needed beyond a weekly glance to confirm the trend holds.
Above 60%, Time to Reduce Moisture
Condensation on window glass, a musty smell in closets, or dark spots on bathroom ceilings signal trouble. Run a bathroom exhaust fan during and for 20 minutes after showers, open windows for 10 minutes on dry days, and consider a dehumidifier rated for the room’s square footage. A 500-square-foot basement usually needs a 30-pint unit to keep RH under 50% in summer.
Seasonal Swings and Room-to-Room Gaps
Numbers that bounce between floors are not a sign your sensors are broken. They reflect real differences in airflow, sunlight, and moisture sources. A 15-point gap between a sunny upstairs bedroom and a cool basement is normal, and ventilation usually resolves it without any new equipment.
Building a Simple Ongoing Monitoring Routine
Measuring indoor humidity once and forgetting about it is how problems grow unnoticed. A light, repeatable habit keeps the data useful without taking over your week, and it works with either a single $15 unit or a small smart sensor network.
- Daily checks for two weeks: Glance at the reading each morning for the first 14 days to learn your home’s normal range and spot any sharp swings.
- Weekly checks after the baseline: Once you know your typical 35–50% range, a single weekly glance is enough to catch a slow drift from a failing dehumidifier or a new leak.
- Log the numbers: A notebook, a phone note, or a simple spreadsheet lets you spot a 5-point climb over a month that daily memory would miss.
- Recalibrate annually: Run the salt test once a year, or sooner if a sensor takes a tumble or sits unused for months. Replace the battery yearly, since low voltage can distort readings.
- Upgrade only when trends matter: A smart humidity sensor earns its cost when you want graphs, remote alerts while traveling, or automatic humidifier control. Otherwise, a $15 device does the job.
Final Look
The most accurate humidity reading you can get comes from one well-placed digital hygrometer, calibrated once a year, in the room you use most. Tools and apps are useful, but location, patience, and a clear target range do the real work. Aim for 30–50% RH, check the number weekly, and you will catch dry-air complaints and mold risk long before either becomes a costly repair.
FAQ
What is the best tool to measure indoor humidity?
A calibrated digital thermo-hygrometer with ±3% RH accuracy is the best tool for most homes. Models from ThermoPro, AcuRite, and Govee cost $10–$25 and outperform analog dials and phone apps, which infer humidity from barometric pressure rather than measuring it directly.
Are digital hygrometers accurate?
Out of the box, most digital hygrometers hold a tolerance of ±2–5% RH and typically stay within that window for 1–2 years. A salt-test calibration verifies accuracy, and units with a calibration trim pot let you correct small offsets at home without sending the device to a lab.
Where should you place a hygrometer in a room?
Place a hygrometer 3–5 feet off the floor, away from windows, exterior walls, supply vents, and direct sunlight. Keep it out of kitchens and bathrooms, where cooking and shower steam cause spikes that do not represent the rest of the home.
What is the ideal indoor humidity level?
ASHRAE recommends 30–60% RH, while the EPA suggests 30–50% to prevent mold. For most homes, 40–45% is the practical sweet spot where comfort, respiratory health, and building protection all line up.
How often should you calibrate a hygrometer?
Calibrate a digital hygrometer once a year using the salt-test method, or sooner if the unit is dropped, stored for months, or starts reading noticeably off from a second sensor in the same room. Replace the battery annually, since low voltage can skew readings.
Can a smartphone app measure indoor humidity accurately?
On their own, smartphone apps lack the sensors needed to read the humidity of the air around you. They pull outdoor data from regional weather stations or use the phone’s barometer to estimate pressure, so they reflect the air outside or a rough forecast, not the actual moisture level in your living room.